
Invoice settings: numbering, logo, and default terms
Invoice settings control how every invoice you send looks and what number it gets.
Open All pages in the left sidebar, then under Setup click Invoice settings.
Continue your existing numbering
This is what to set first if you are moving from another system and want your series to carry on.
- In Numbering, set a Prefix if you use one, like HM-.
- Set Start at to your next number.
- Set Digits for zero padding, so 42 prints as 0042.
- Check the Next value on the right, then click Save numbering.
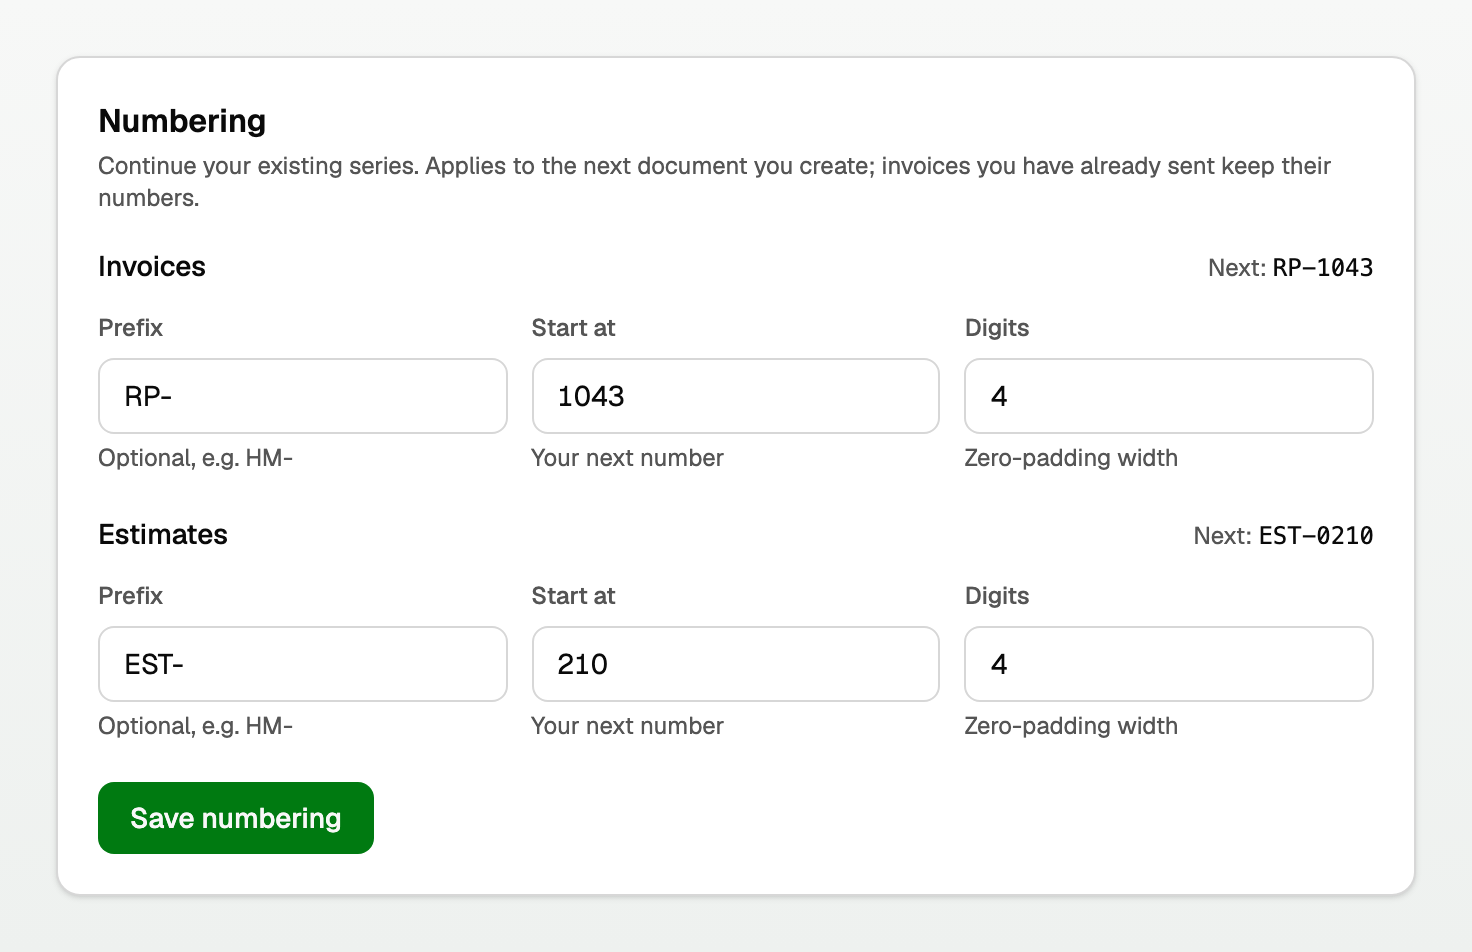
Two things worth knowing:
- Start at is a floor, not an override. If you are already at 1200, setting 1000 still gives you 1201. You cannot reuse a number you have issued.
- Nothing renumbers history. This applies to the next document you create. Invoices you have already sent keep their numbers, which is right, because your customer is holding those.
Estimates have their own series on the same panel.
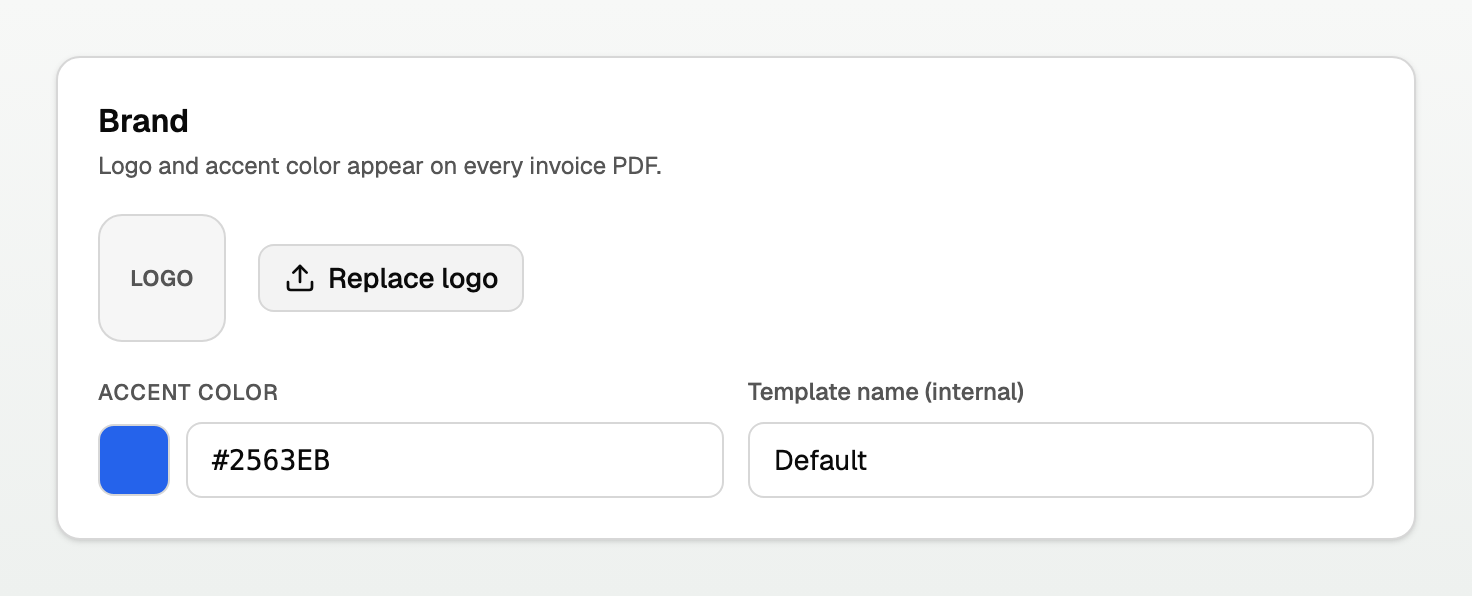
Branding
Upload a Logo and pick an Accent color. Both appear on every invoice PDF, and the preview on the right refreshes as you go.
Branding changes save on their own. There is no save button.
Default wording
Under Invoice text, set the Title, Subheading, Footer and Notes & terms that every new invoice starts with. You can still override any of them on a single invoice.
Notes & terms is where payment terms belong, for example "Payment due within 30 days".
Columns
Under Line table columns you can:
- Rename the Description, Quantity and Unit price columns. Charging by the hour? Rename Qty to Hours.
- Hide the quantity or unit price column entirely, for flat-fee work.
- Hide the small "Made with BooksGPT" line at the bottom of the PDF.
Updated on: 04/08/2026
Thank you!